
How To Seal Pavers: Driveways, Patios & More
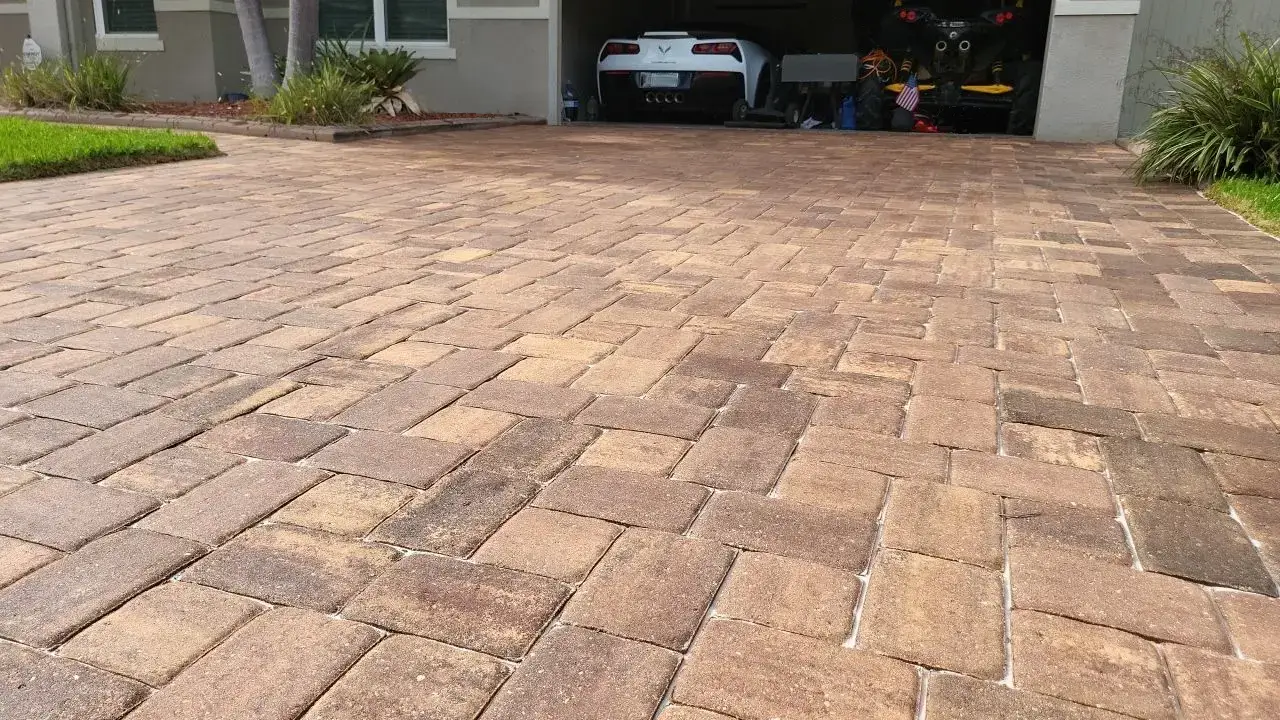
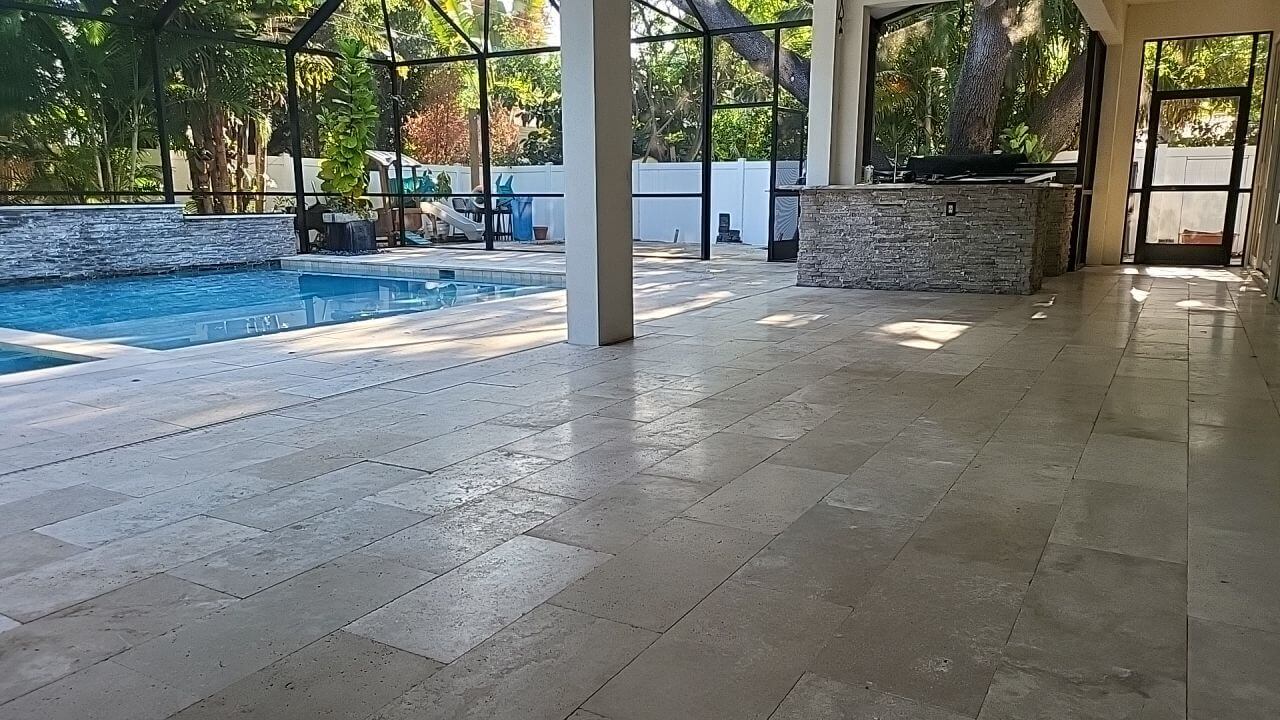
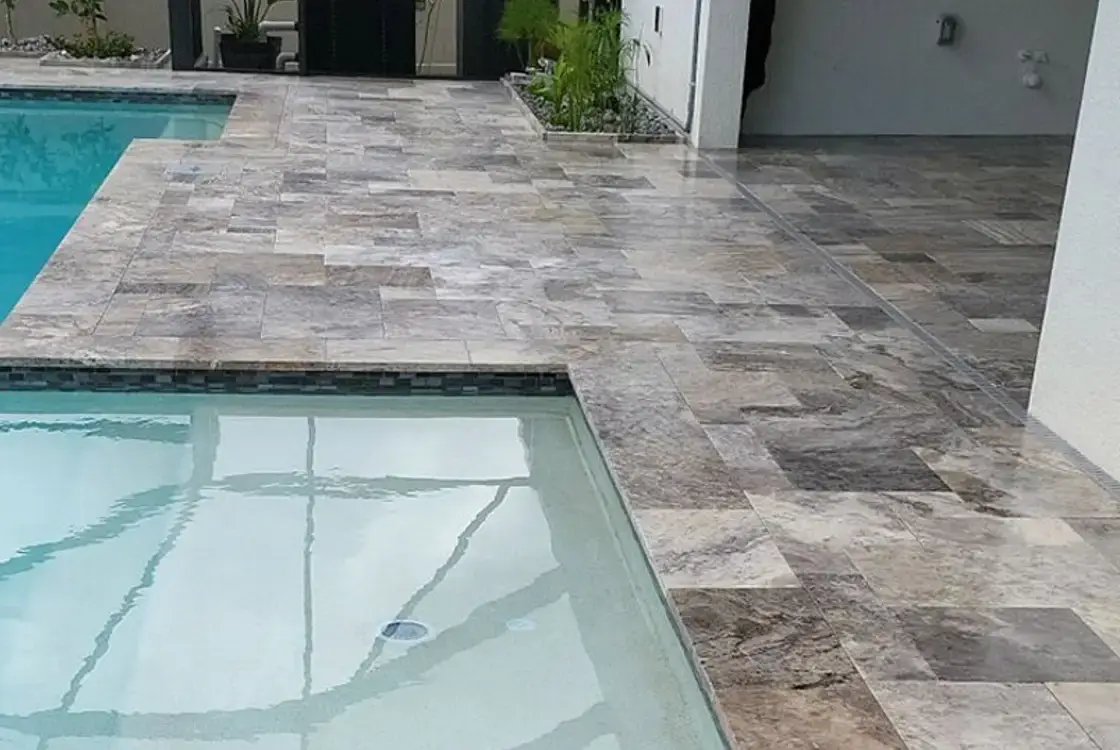
Pavers, whether they’re constructed from brick, concrete, or natural stone, impart a grand allure to driveways, pool decks, and patios. These charming hardscape surfaces, however, are not immune to the effects of time. Sand erosion, weed growth, and uneven surfaces can mar their appeal. That’s where sealing steps in, safeguarding both aesthetics and durability.
What we discuss in this article…
- Why paver sealing is important.
- Learn what steps are required.
- Choosing the correct sealer for your project.
- Basic tools for applying sealer.
- How to properly clean pavers and address stains or blemishes.
- Leveling pavers.
- Sand installation techniques for paver sealing.
- Strategies for applying sealer.
Professional Sealing Tips, Best Practices & More…
Why Sealing Matters
Beyond mere appearance, sealing is a proactive measure against wear and tear.
By creating a protective shield, sealers ward off UV rays, ensuring longevity.
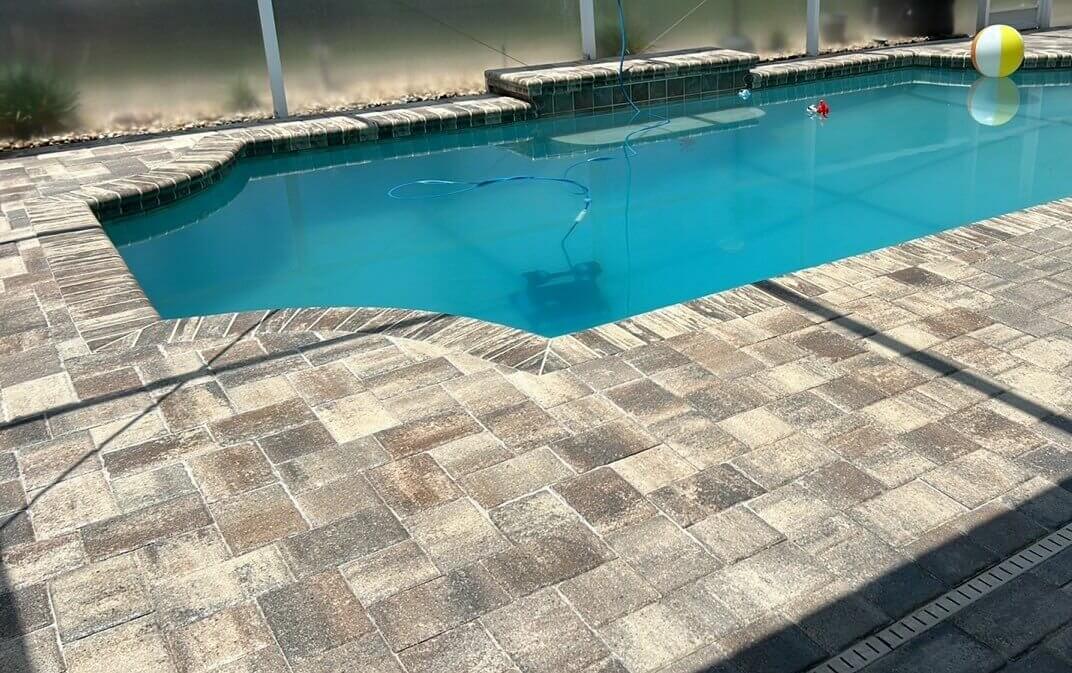
The choice between a matte finish and a gorgeous wet look rests with you.
You can either embark on a DIY journey or engage experts like Paver Seal Tampa.
Choosing Supplies
Your sealing journey commences with the selection of the right sealer.
The two primary options are water-based and solvent-based sealers.
Opt for a water-based sealer if your pavers have joint sand, while solvent-based sealers are tailored for densely-packed surfaces.
Water-Based Sealers
Seeking a subdued matte finish?
Opt for a high-quality water-based sealer. These sealers strike a balance, not overly altering the natural look of the bricks. They are particularly suited for porous, non-glossy surfaces.
If in doubt, seek guidance from Paver Seal Tampa.
Water-based sealers also have a fantastic sheen and do come available in gloss finish, however the sheen is paver by paver dependent.
Typically water based sealer does not offer the highest sheen possible, but tends to have better results, long-term, than solvents, especially in areas or regions that have high ground moisture.
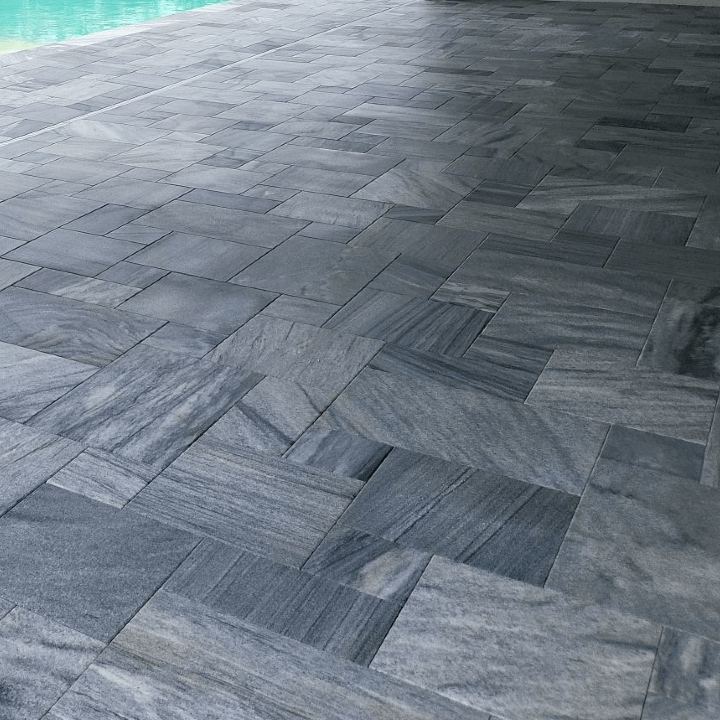
Solvent-Based Sealers
If a glossy wet look is your preference, solvent-based sealers are your allies. Keep in mind that these sealers won’t solidify sand joints. They shine on non-porous, smooth stones.
Application demands precision due to their specific process.
We offer different options for natural stones in certain cases to provide a look in finish that line up with what your needs are in these areas.
If choosing the right type of sealer for your hardscapes is a concern for you feel free to reach out to us Now and we will be happy to guide you in the right direction.
The Correct Sand
Keep your push broom close!
The correct sand can make all the difference when it comes to a successful paver sealing project. We recommend fine grain silica sand for the Central Florida area.
Other popular options include polymeric sand, and basic fine grain play sand.
Tools and Equipment
So we already know we need pressure washing gear for this project. obviously tools like surface cleaners and power washing accessories are required for this type of project.
The truth is if you already have access to cleaning gear, the rest of the tools are pretty basic for the DIY application. So here are a few simply items you’ll need to apply the sealer.
Spraying Sealer Equipment
The application process depends on the use of an adjustable nozzle sprayer. Select a cone tipped spray configuration for uniform coverage.
An affordable pump up garden sprayer can serve as an effective tool.
This is the perfect tool for a DIY project. At Paver Seal Tampa we use professional Sprayer Gear to Get the job done.
The Right Roller
When needed, equip yourself with a roller of appropriate thickness. The roller’s dimensions are pivotal in guaranteeing optimal sealer penetration into cracks. Adhere to the sealer instructions for best results.
We Put Our Name On Every Job
At Paver Seal Tampa we strive to exceed expectations and deliver a final product that we are proud of… And you will be too! Contact our office today to get a FREE quote for your next project
How To Correctly Prepare Hardscapes For Paver Sealing
1. Cleaning Pavers
Effective preparation is the cornerstone. Thoroughly cleanse the surface, ridding it of dirt and grime. Avoid sealing in impurities. For a meticulous cleaning job, the experts at Paver Seal Tampa are at your service.
2. Addressing Stains
Not every paver sealing project requires all treatments, every time. Not every stain can be removed!
- We always recommend treating mold and degreasing surfaces.
- Efflorescence should be treated with freshly installed and unsealed pavers.
- Be careful and avoid mixing cleaning chemicals.
- Fully clean and rinse surfaces between treatments.
- Personal protection gear, safety glasses, gloves, common sense, etc.
Rust Stains
Stubborn stains like rust marks can be conquered with acid cleaners and rust removers. Opt for safer alternatives like masonry cleaners and even muriatic acid (diluted) for the most intensive stains.
Oil Stains
Grease and oil can be treated with degreasers and power washing to effectively reduce stains. When combined with sealing services most oil stains virtually vanish.
The best protection from oil stain is paver sealing which creates a barrier that inhibits deep stain penetration, making stains easier to clean.
Oils can prevent a durable bond with the sealer application and is an important step in the cleaning process when sealing these surfaces
Mold, Mildew & Algae
One of the best ways and most essential detergent pros and DIYers use to combat mold and mildew is with a bleach solution.
We recommend a 50/50 solution of household bleach and dish soap be thoroughly applied to all surfaces. Allow enough time to soak in and reapply as needed.
Next use your power washing equipment to thoroughly remove all mold and organic matter. Feel free to adjust the strength of your mix to get better results on tough stains.
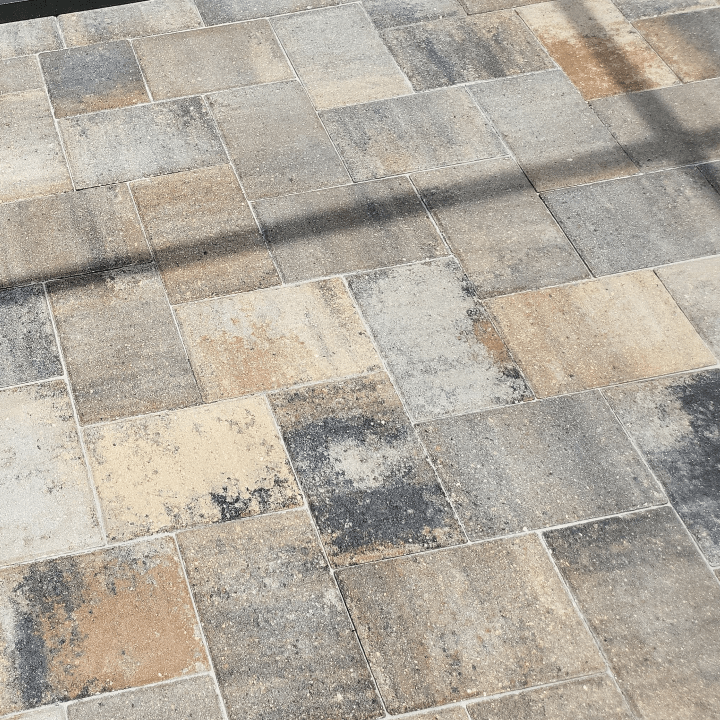
Efflorescence Cleaners
Overlooking this important step can affect the results for years to come. These mild acid cleaners work to remove the “salts” inside your masonry brick pavers.
This natural process is most active immediately after the installation.
Treating your unsealed pavers for efflorescence as a part of your initial sealing project will help prevent unsightly blemishes from being sealed into the surface of your stones.
Learn more about Efflorescence with this in depth article here, What is Efflorescence?
3. Leveling Crooked Pavers
There are many causes for uneven pavers like roots, running water, abuse or base wash out, just to name a few.
Prior to sealing, ensure uneven pavers are fixed. Have base sand ready to go. Lift and reset them, employing a rubber mallet and simple tools like flat head screwdriver or paver extractor forks that help lift pavers up.
We recommend pressure washing the area prior to repair and ensure the joints are clean for easier removal and replacement.
4. Re-sand Joints
A crucial step is re-sanding the joints using fine-grade Silica Sand or play sand. For the simplest sand application use a push broom to evenly distribute the sand, achieving a solid, uniform foundation.
Consider lightly dampening the surface to test how full the joints are and ensure compaction.
At this point we recommend a gentle leaf blowing to remove excess sand from the surface of the paver.
Sanding the joints can be the most detailed part of your project. Done incorrectly, it can mar the look and feel of your pavers
Hydro-Compacted Sand
At Paver Seal Tampa we take it a step further and ensure compacted sand joints by employing a combination of techniques known as “wet sanding”, or “hydro compaction”.
This simply involves moving wet sand into the joints to guarantee the joint is filled to the top.
Sounds easy, yet excellent results require attention to detail and a surprising amount of technique!
This extra process ensures that the sand is deep in the joints. That means when it comes time to apply sealer, all of the sand will remain at the top instead of collapsing into the partially filled cavity.
At this point we allow a little “dry time” so we can use leaf blowers and brooms to complete a perfect joint finish. This leaves the joints optimally full and removes extra sand on the surface.
*We do not use or recommend using polymeric sand unless you have large joints, live in drier climates than Central Florida or have contracted professionals that understand the best practices involved with its application and have a track record of successful installation in our region*
5. Apply Sealer In Sections
Divide the area into manageable sections for consistent coverage. Employ a uniform circular motion during application to achieve an even coat.
Use over spray shields to prevent sealing walls and other surfaces.
6. Moderation is Essential
Steer clear of excessive sealer application; it can lead to undesirable outcomes. An initial even coat suffices. Follow up with a second coat after the first dries for enhanced durability.
Get The Best Paver Sealing Results
The act of sealing brick pavers isn’t merely a cosmetic endeavor—it’s an investment in both aesthetics and resilience.
The path to a successful sealing process involves selecting the right sealer and good application techniques.
Paver Seal Tampa stands as your partner in this journey, providing expertise and quality service.
For all inquiries about our services, reach out & Call Us Now @ 813-480-9093
Contact Our Office Today
We welcome the opportunity to exceed your expectations. Contact our office today for a FREE quote!
Email:Info@paversealtampa.com
"*" indicates required fields
